Allgemein
How To Set Up Kiteboarding Equipment
How To Set Up Kiteboarding Equipment
This post will go over how to set up kiteboarding equipment. The method we teach here is how we personally set up and how we teach our students to set up. This post and video is to supplement our student’s on-the-water training.
It is critical to get kiteboarding lessons. Launching a kiteboarding kite can be the most dangerous part to kiteboarding. If someone has never practiced or does not have good fundamentals, then after setting up can be a very dangerous step. We provide a safe and effective way of teaching to help students feel comfortable launching. Our focus is on good fundamentals to create safe and independent kiteboarders.
The Process
The process how to set up kiteboarding equipment can be done in under five minutes. However, we recommend to not rush and to set the equipment up with precision. Take an extra few minutes to make sure the kite is pumped up and set on the beach in the correct manner. Take another few minutes to make sure the lines are walked out and set up right. If unsure at any stage, ask another experienced kiteboarder for help.
Kite Setup
To keep this post simple, we will list out the steps on how to set up the kite.
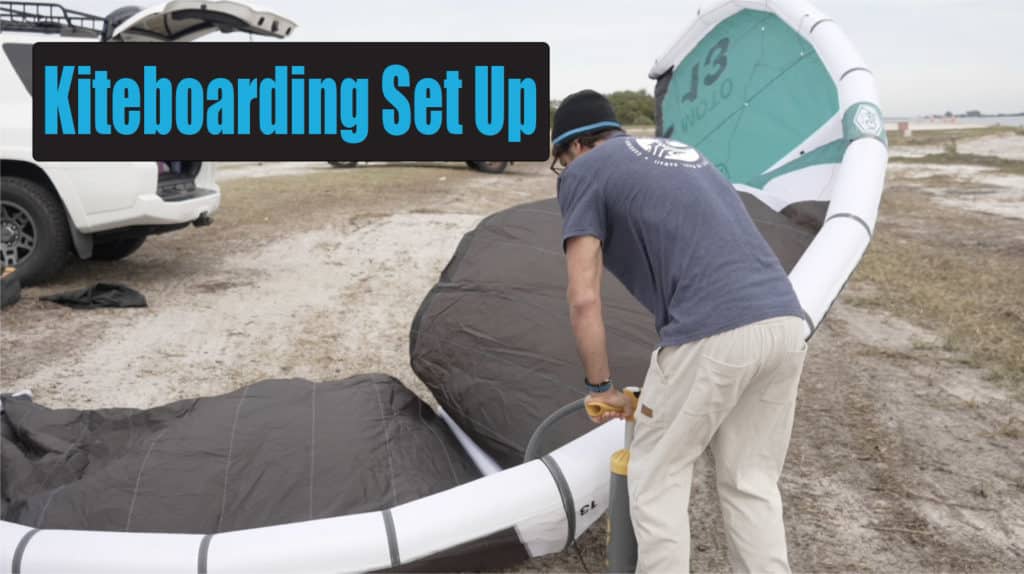
Take kite out of the bag
Find the middle of the kite and have the middle of the kite point downwind with the leading edge or middle valve upwind
Attach the pump clip to the kite
Attach the appropriate pump nozzle to the valve on the kite
How To Set Up Kiteboarding Equipment
Pump the kite up until there is little bend in the kite or around 7/8 psi
Detach the pump nozzle
Secure kite with hand on the leading edge
Detach the pump clip
Flip the kite over with the leading edge down and wind blowing evenly over canopy
Line Setup
With the kite pumped up and on the beach, the next step in how to set up kiteboarding equipment is to attach the lines. Here is a step by step to attaching the lines.
Take the wrapped up bar to the inside of the kite
Let the four lines at the end down and walk downwind from the kite
Once the lines are all laid out: if facing the kite (facing upwind) – make sure the “left” side is on the right (this is because when piloting the kite, the kiteboarder faces downwind)
Position the center lines between the legs and the two outside lines on the outside of the body
Walk back upwind towards the kite, separating the lines
The left outside line should be to the far left, the center lines should be in-between, and the right outside line should be to the far right
Create a larks head knot with the outside lines to attach them to the kite
The bridle on the kite for the center lines should have the larks head knot (some brands have this in reverse – that is okay)
Once The Kite Is Setup
Once the kite is setup, the next phase is to safely launch a kite. There are different techniques to launch a kiteboarding kite. Situational awareness is an important skill to help assess the safest way to launch a kite. We teach the skills and knowledge to make this happen.
- Lieferung: DHL / DPD
- Palm-Kite Berlin, Deutschland
- Datenschutz / Impressum / AGB


